| tensorflow(10) | 您所在的位置:网站首页 › tensorflow 导入数据集 › tensorflow(10) |
tensorflow(10)
|
前面讲了怎么用tensorflow识别一些常用的数据集,但是吧,大部分时候,我们都需要识别自己的数据集,比如你有一万张猫狗图片,这时候就需要把本地的那些照片作为数据集传到网络结构中进行处理,这些自己的图片,叫做自制数据集。 这篇文章,咱们用本地的数据集,完成一次识别,我把数据集放在了自己的博客资源里,你们去瞅瞅,应该有。 第一步咱们还是导入相应的包 import tensorflow as tf from PIL import Image import numpy as np import os from tensorflow import keras因为数据在本地嘛,所以需要定义数据集在本地的位置 train_path = './数据集/class4/MNIST_FC/mnist_image_label/mnist_train_jpg_60000/' train_txt = './数据集/class4/MNIST_FC/mnist_image_label/mnist_train_jpg_60000.txt' x_train_savepath = './数据集/class4/MNIST_FC/mnist_image_label/mnist_x_train.npy' y_train_savepath = './数据集/class4/MNIST_FC/mnist_image_label/mnist_y_train.npy' test_path = './数据集/class4/MNIST_FC/mnist_image_label/mnist_test_jpg_10000/' test_txt = './数据集/class4/MNIST_FC/mnist_image_label/mnist_test_jpg_10000.txt' x_test_savepath = './数据集/class4/MNIST_FC/mnist_image_label/mnist_x_test.npy' y_test_savepath = './数据集/class4/MNIST_FC/mnist_image_label/mnist_y_test.npy'mnist_image_label文件夹里有两个txt文件和两个文件夹
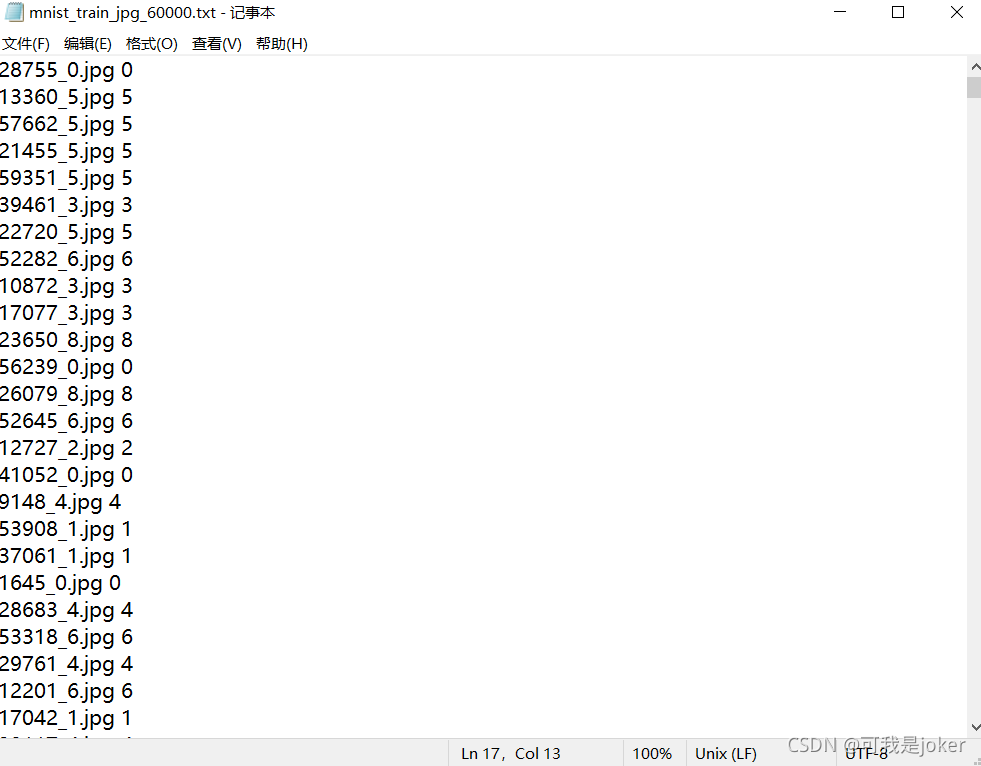
文本文件里放的是图片名字和图片里的数字
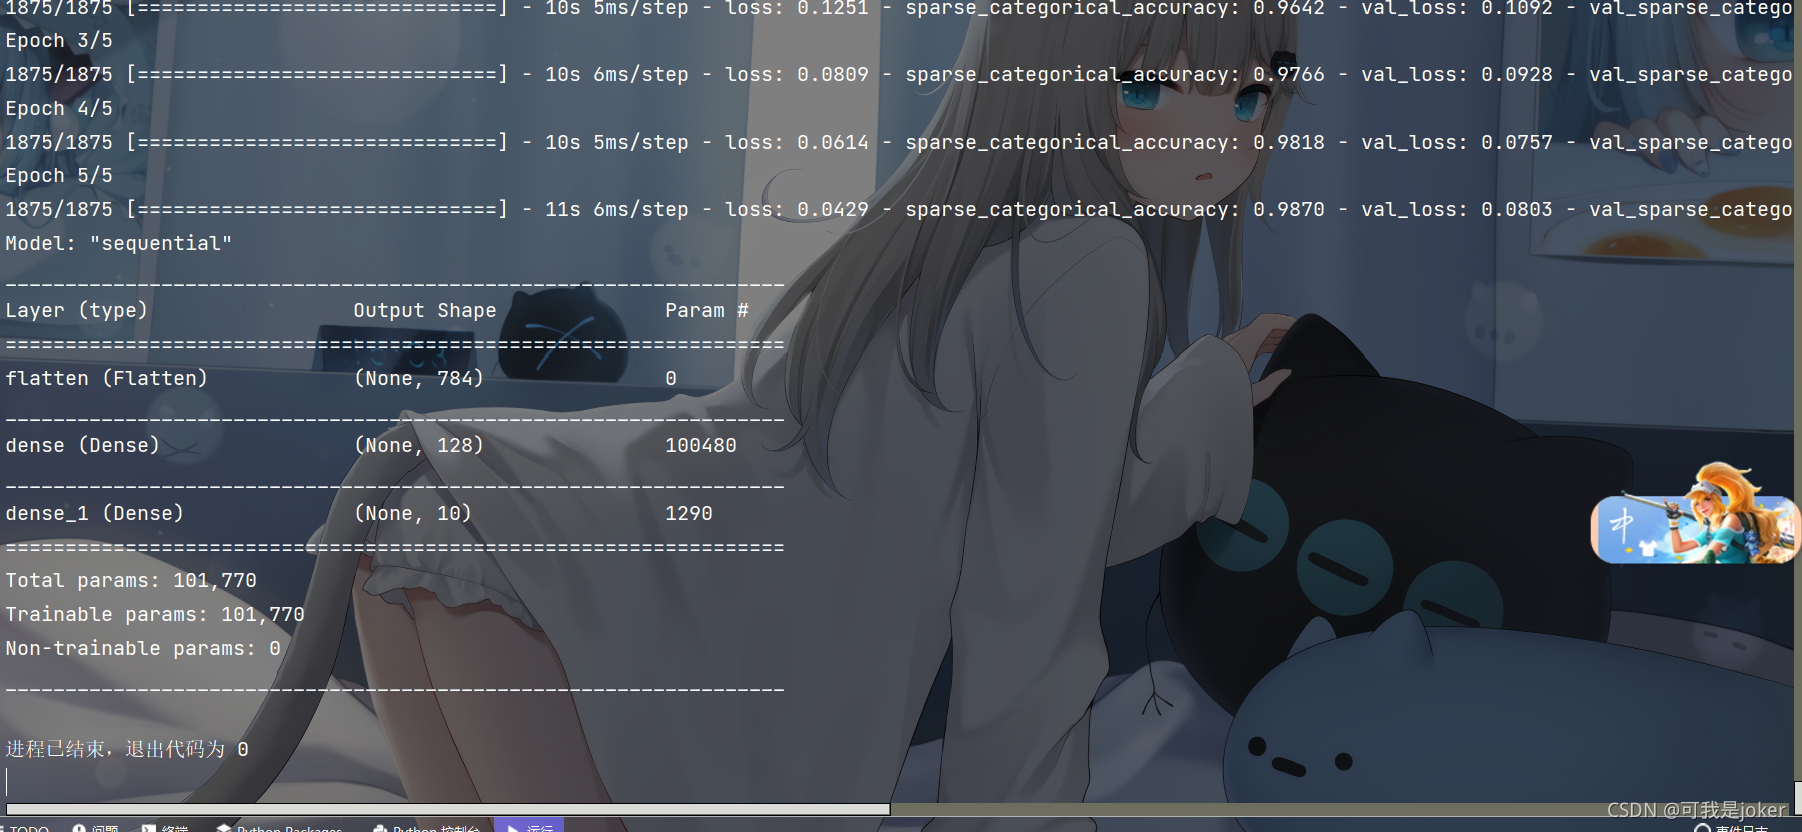
两个文件夹里分别放了不同数量的手写数字图片,特别提醒,数组会以未压缩的原始二进制格式保存在扩展名为.npy的文件中 def generateds(path,txt): f = open(txt,'r') contents = f.readlines() f.close() x,y_ = [],[] for content in contents: value = content.split() img_path = path+value[0] img = Image.open(img_path) # 图片变成8位宽灰度值的np.array格式 img = np.array(img.convert('L')) img = img/255.0 x.append(img) y_.append(value[1]) print('loading:'+content) x = np.array(x) y_ = np.array(y_) y_ = y_.astype(np.int64) return x,y_ if os.path.exists(x_train_savepath) and os.path.exists(y_train_savepath) and os.path.exists(x_test_savepath) and os.path.exists(y_test_savepath): print('-'*20,'Load Datasets','-'*20) x_train_save = np.load(x_train_savepath) y_train = np.load(y_train_savepath) x_test_save = np.load(x_test_savepath) y_test = np.load(y_test_savepath) x_train = np.reshape(x_train_save,(len(x_train_savepath),28,28)) x_test = np.reshape(x_test_save,len(x_test_save),28,28) else: print('-'*20,'Generate Datasets','-'*20) x_train,y_train = generateds(train_path,train_txt) x_test,y_test = generateds(test_path,test_txt) print('-'*20,'Save Datasets','-'*20) x_train_save = np.reshape(x_train,(len(x_train),-1)) x_test_save = np.reshape(x_test,(len(x_test),-1)) np.save(x_train_savepath,x_train_save) np.save(y_train_savepath,y_train) np.save(x_test_savepath,x_test_save) np.save(y_test_savepath,y_test) 这段代码从if那里开始看,如果x_train_savepath,y_train_savepath,x_test_savepath,y_test_savepath,也就是那四个npy文件都存在的话,就直接从npy文件中读取出来之前保存好的数据,如果没有,就执行else里的语句。 先看if里,把x_train_save,y_train,x_test_save,y_test都读取出来,然后对x_train_save进行变形,变成长为len(x_train_save),像素值为28x28的数组,也就是x_train和x_test 那如果文件不存在或者文件不全的话,咱就需要去把这个npy文件生成出来。 这就是else里做的事情,把图片路径输入给generateds函数,然后返回已经做好数据类型变换的数组,把这些数组存在之前定义好的路径,生成npy文件。 这段代码不理解的话也没关系,当你用的时候把最上面文件路径改改就可以,不影响后面学习。 下面就是很简单的东西了,构建模型,模型配置,训练,然后summary查看结果 model = keras.models.Sequential([ keras.layers.Flatten(), keras.layers.Dense(128,activation='relu'), keras.layers.Dense(10,activation='softmax') ]) model.compile(optimizer='adam', loss=keras.losses.SparseCategoricalCrossentropy(from_logits=False), metrics=['sparse_categorical_accuracy']) model.fit(x_train,y_train,batch_size=32,epochs=5,validation_data=(x_test,y_test),validation_freq=1) model.summary()运行之后如果没有npy文件的话首先读取图片,生成npy文件
读取完之后做epoch迭代训练
下面是完整代码,小伙伴们可以试着在自己的电脑上跑一下 import tensorflow as tf from PIL import Image import numpy as np import os from tensorflow import keras train_path = './数据集/class4/MNIST_FC/mnist_image_label/mnist_train_jpg_60000/' train_txt = './数据集/class4/MNIST_FC/mnist_image_label/mnist_train_jpg_60000.txt' x_train_savepath = './数据集/class4/MNIST_FC/mnist_image_label/mnist_x_train.npy' y_train_savepath = './数据集/class4/MNIST_FC/mnist_image_label/mnist_y_train.npy' test_path = './数据集/class4/MNIST_FC/mnist_image_label/mnist_test_jpg_10000/' test_txt = './数据集/class4/MNIST_FC/mnist_image_label/mnist_test_jpg_10000.txt' x_test_savepath = './数据集/class4/MNIST_FC/mnist_image_label/mnist_x_test.npy' y_test_savepath = './数据集/class4/MNIST_FC/mnist_image_label/mnist_y_test.npy' def generateds(path,txt): f = open(txt,'r') contents = f.readlines() f.close() x,y_ = [],[] for content in contents: value = content.split() img_path = path+value[0] img = Image.open(img_path) # 图片变成8位宽灰度值的np.array格式 img = np.array(img.convert('L')) img = img/255.0 x.append(img) y_.append(value[1]) print('loading:'+content) x = np.array(x) y_ = np.array(y_) y_ = y_.astype(np.int64) return x,y_ if os.path.exists(x_train_savepath) and os.path.exists(y_train_savepath) and os.path.exists(x_test_savepath) and os.path.exists(y_test_savepath): print('-'*20,'Load Datasets','-'*20) x_train_save = np.load(x_train_savepath) y_train = np.load(y_train_savepath) x_test_save = np.load(x_test_savepath) y_test = np.load(y_test_savepath) x_train = np.reshape(x_train_save,(len(x_train_savepath),28,28)) x_test = np.reshape(x_test_save,len(x_test_save),28,28) else: print('-'*20,'Generate Datasets','-'*20) x_train,y_train = generateds(train_path,train_txt) x_test,y_test = generateds(test_path,test_txt) print('-'*20,'Save Datasets','-'*20) x_train_save = np.reshape(x_train,(len(x_train),-1)) x_test_save = np.reshape(x_test,(len(x_test),-1)) np.save(x_train_savepath,x_train_save) np.save(y_train_savepath,y_train) np.save(x_test_savepath,x_test_save) np.save(y_test_savepath,y_test) model = keras.models.Sequential([ keras.layers.Flatten(), keras.layers.Dense(128,activation='relu'), keras.layers.Dense(10,activation='softmax') ]) model.compile(optimizer='adam', loss=keras.losses.SparseCategoricalCrossentropy(from_logits=False), metrics=['sparse_categorical_accuracy']) model.fit(x_train,y_train,batch_size=32,epochs=5,validation_data=(x_test,y_test),validation_freq=1) model.summary() |


【本文地址】